
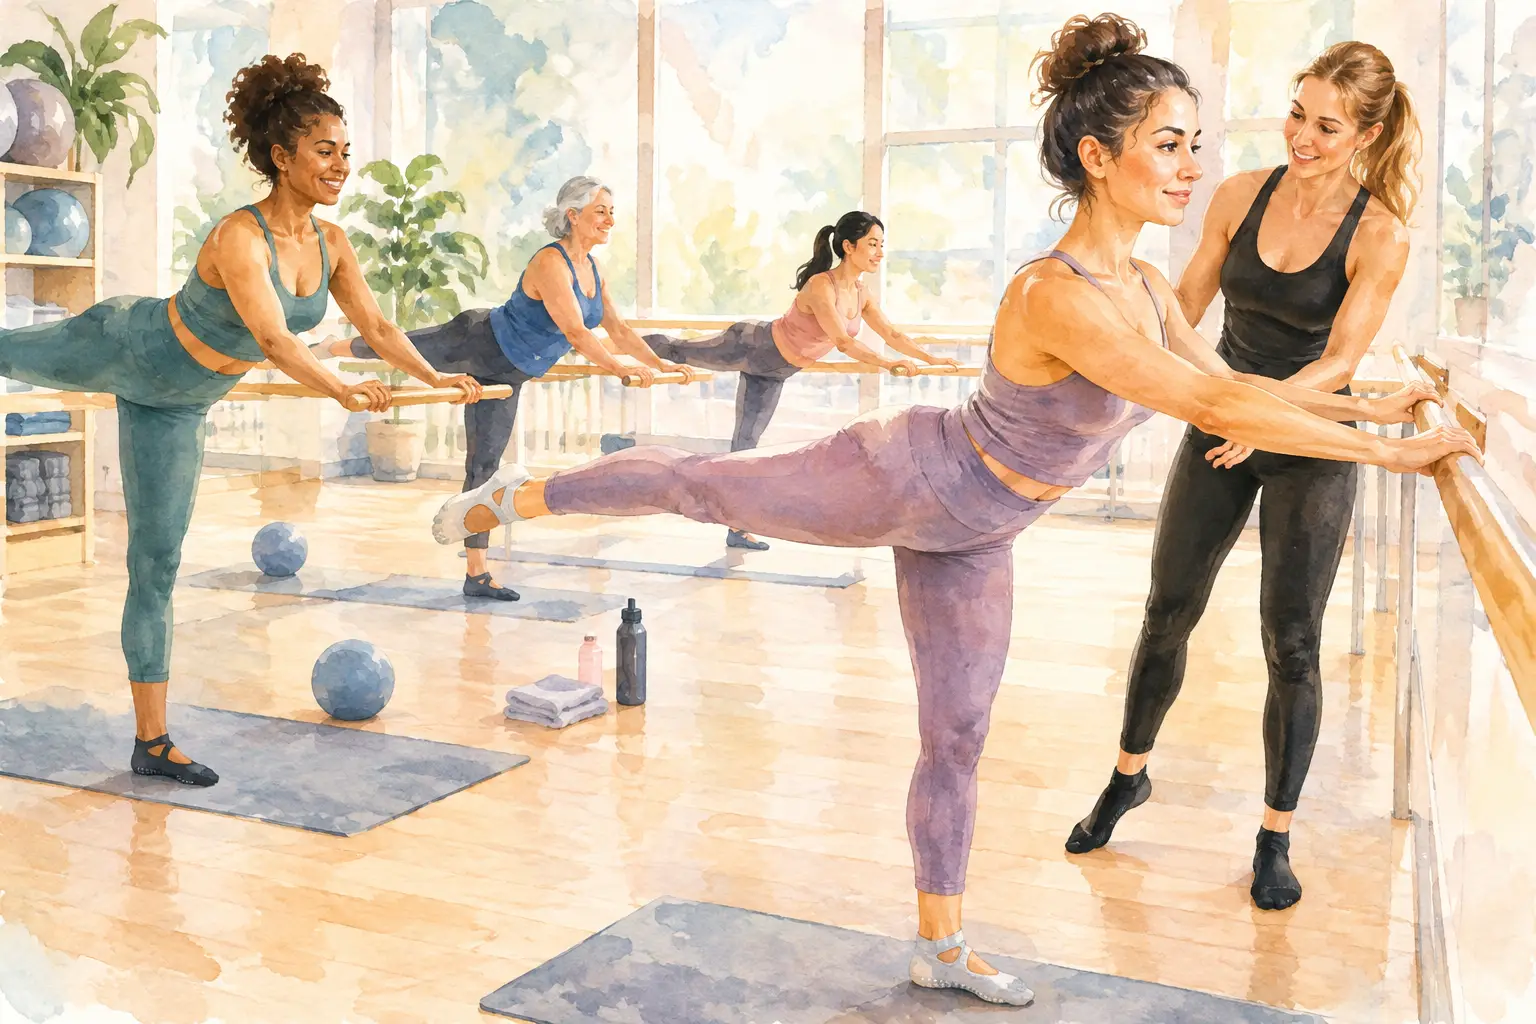
Are Barre Socks Necessary for Every Class?
Are barre socks necessary? Learn when grip socks help with stability and hygiene, when they are required, and how to choose a comfortable pair for class.
Your core is working long before you get to the hard part of class. It helps you stand taller at the kitchen counter, carry groceries with more ease, stay steady in a yoga balance, and move with control through every barre pulse. The best core stability moves are not about chasing a burning set of crunches. They are about teaching your body to create support from the inside out.
At Sea Barre Fitness, we love core work that feels purposeful, approachable, and kind to your joints. A strong core supports better posture, balance, and confidence in everyday movement. And because stability is built through thoughtful alignment rather than force, these exercises can be adjusted for beginners, returning exercisers, and anyone looking for low-impact strength.
Your core includes more than the muscles at the front of your stomach. It also involves the muscles around your sides, back, hips, pelvic floor, and diaphragm. Together, they help your trunk stay steady while your arms and legs move.
That distinction matters. Traditional sit-ups focus mostly on bending and straightening through the torso. Core stability work asks a different question: Can you keep your ribs, pelvis, and spine comfortably aligned while you breathe, reach, lift a leg, or shift your weight?
The goal is not to hold your breath, pull your stomach in as tightly as possible, or push through discomfort in your back. Instead, think of gently wrapping your midsection in support while leaving room for a full, steady breath. Quality reps will do more for you than rushing through a long set.
Start with two or three of these movements two or three times a week. Move slowly enough that you can notice what your body is doing. If an exercise creates sharp pain, tingling, dizziness, or strain that does not feel right, stop and choose a gentler option.
Lie on your back with your knees bent over your hips and your shins parallel to the floor. Let your arms rest by your sides. Take an inhale, then exhale as you gently lower one foot to tap the floor. Bring it back to tabletop and switch sides.
The challenge is keeping your pelvis steady as the leg moves. Avoid flattening your lower back aggressively into the mat. Instead, aim for a neutral, supported position where your ribs stay softly connected and your low back does not arch away from the floor.
If tabletop feels like too much at first, keep one foot on the floor and slide the other heel away slowly. This is a smart place to begin, not a shortcut.
The dead bug is a Pilates-inspired favorite because it makes you practice stability without loading your wrists or knees. Begin on your back in tabletop, with your arms reaching toward the ceiling. As you exhale, slowly reach one arm overhead while extending the opposite leg away from you. Return to center, then switch sides.
Only extend as far as you can without losing control through your middle. A smaller range of motion is often the stronger choice. If your ribs flare up or your back begins to arch, shorten the reach or keep the knee more bent.
This move is especially helpful for learning how to coordinate breath with movement. Exhale on the effort, and imagine your waist gently narrowing all the way around rather than gripping only at the front.
Come to hands and knees with your hands under your shoulders and knees under your hips. Keep your gaze down so your neck stays long. Reach one leg behind you, then reach the opposite arm forward. Pause for a breath before returning with control.
Bird dog looks simple, but it asks your core to resist twisting and shifting. Picture a glass of water resting on your low back. Your goal is to keep it level as you extend.
If lifting both an arm and leg feels wobbly, start with just the leg or just the arm. You can also slide your toes along the floor rather than lifting the leg fully. The best version is the one that lets you stay steady and breathe.
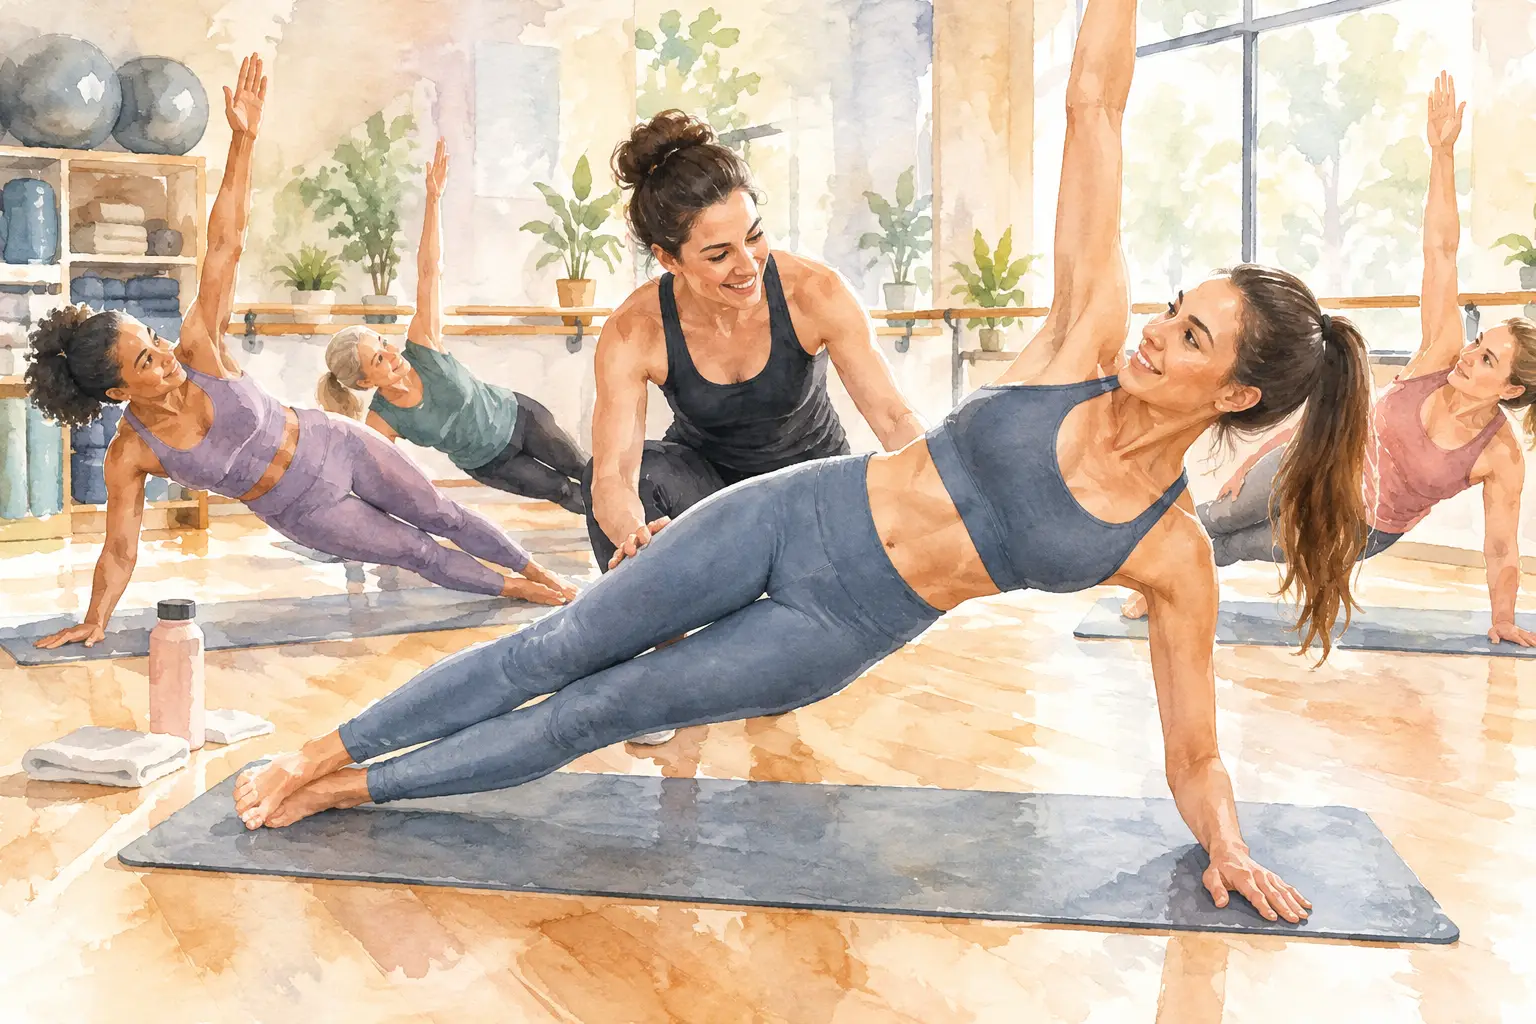
Side planks strengthen the side body, which plays a major role in balance and pelvic stability. Lie on one side with your bottom knee bent and your top leg long. Place your elbow beneath your shoulder, then press the floor away and lift your hips into a straight line from shoulder to knee.
Keep your shoulder relaxed away from your ear and think about lifting through the underside of your waist. You do not need to hold this shape for a long time. Even 10 to 20 seconds of focused work can be effective.
For more support, keep both knees bent. When you are ready for more challenge, straighten both legs and stack your feet. Neither option is automatically better. Your form, shoulder comfort, and ability to stay aligned are what matter.
A stable core and strong hips work beautifully together. Start on your back with your knees bent, feet about hip-width apart, and arms by your sides. Press through your feet to lift your hips into a bridge. Pause, then slowly lift one foot an inch or two from the floor without allowing your hips to drop or tip.
Alternate sides as if you are marching in place. Keep the movement small and controlled. You may notice your glutes, hamstrings, and deep abdominal muscles working together to keep your pelvis level.
If the march changes your bridge shape too much, hold a regular bridge for several breaths instead. That is still valuable stability work, especially when you focus on even pressure through both feet.
A forearm plank can be an excellent full-body stability move when it is scaled well. Begin on your forearms and knees, with your elbows under your shoulders. Step your knees slightly back so your body forms a long diagonal line from head to knees. Gently press the floor away and breathe.
Instead of trying to hold a dramatic, rigid position, think long and supported. Keep your hips from sinking toward the mat, but do not lift them high into the air either. A soft exhale can help you feel your abdominal support without tensing your jaw or shoulders.
Try lowering one knee lightly to the floor, lifting it back up, then switching sides while keeping your torso quiet. This adds movement without turning the plank into a race. If your wrists or shoulders prefer it, stay on your knees and simply hold the position.
The most effective core practice is usually not the one that leaves you feeling completely spent. It is the one you can repeat consistently with good form. Aim for one to three sets of six to 10 slow repetitions per side, or short holds of 10 to 30 seconds. Rest whenever your breath becomes strained or your alignment begins to fade.
A few cues can transform the way these exercises feel. Exhale during the challenging part of the movement. Keep your shoulders relaxed. Move slowly enough to avoid rocking side to side. And remember that your hips and rib cage should feel connected, not clamped down.
Pregnancy, postpartum recovery, past injuries, and day-to-day energy levels can all change which movements feel best. There is no prize for choosing the most advanced variation. A coach can help you find smart modifications, and your body is allowed to need a different option on different days.
Core stability should show up beyond the mat. Notice it when you rise from a chair, reach for something overhead, walk on an uneven boardwalk, or settle into a cycling position with a tall, supported spine. Those small moments are where controlled practice becomes everyday confidence.
Choose one move that feels doable today, give it your full attention, and let steady progress build from there. Strong can feel supportive, grounded, and entirely your own.
Are barre socks necessary? Learn when grip socks help with stability and hygiene, when they are required, and how to choose a comfortable pair for class.
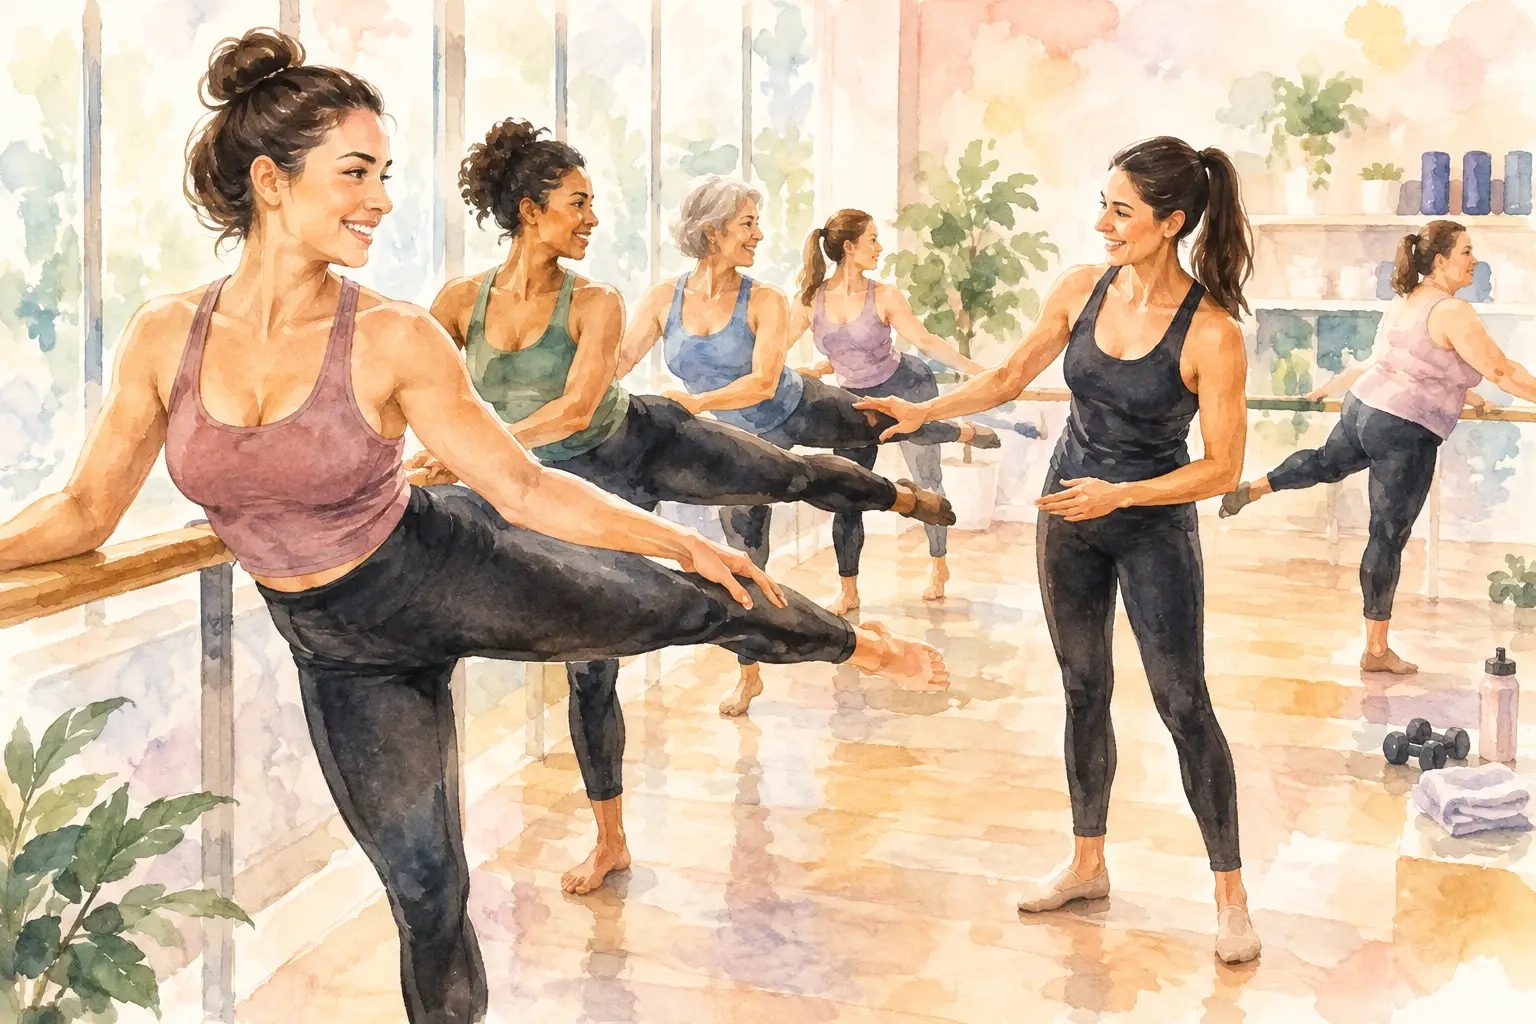
Learn how to choose barre classes that match your goals, support your joints, and help you feel stronger, steadier, and welcomed from day one each week.