
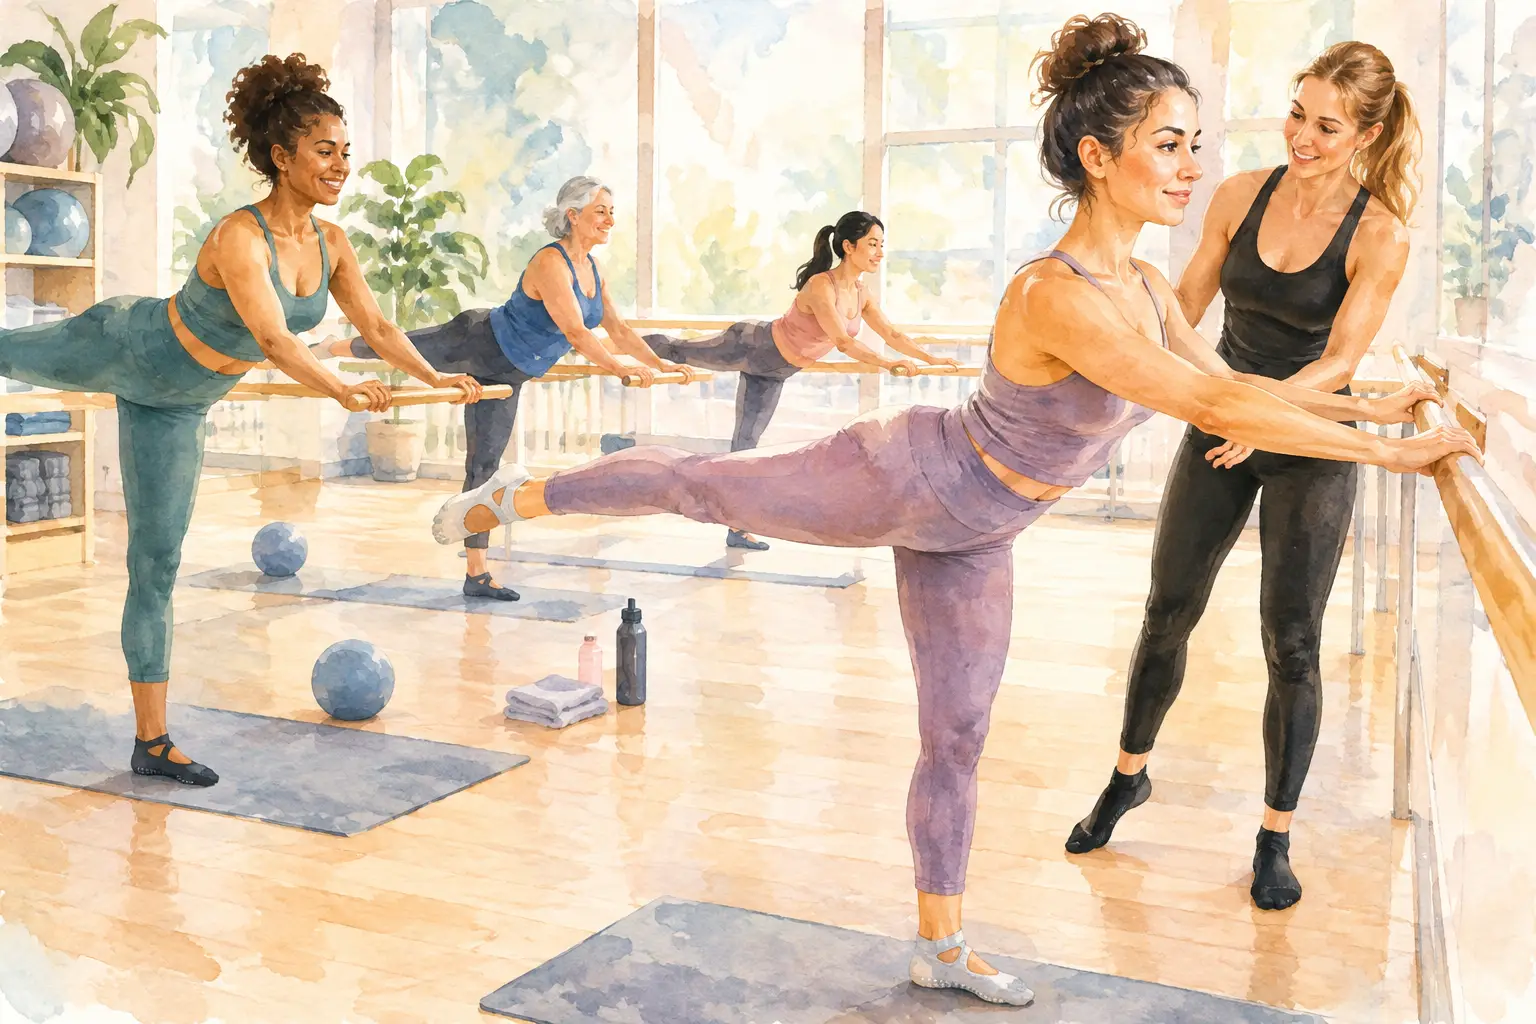
Are Barre Socks Necessary for Every Class?
Are barre socks necessary? Learn when grip socks help with stability and hygiene, when they are required, and how to choose a comfortable pair for class.
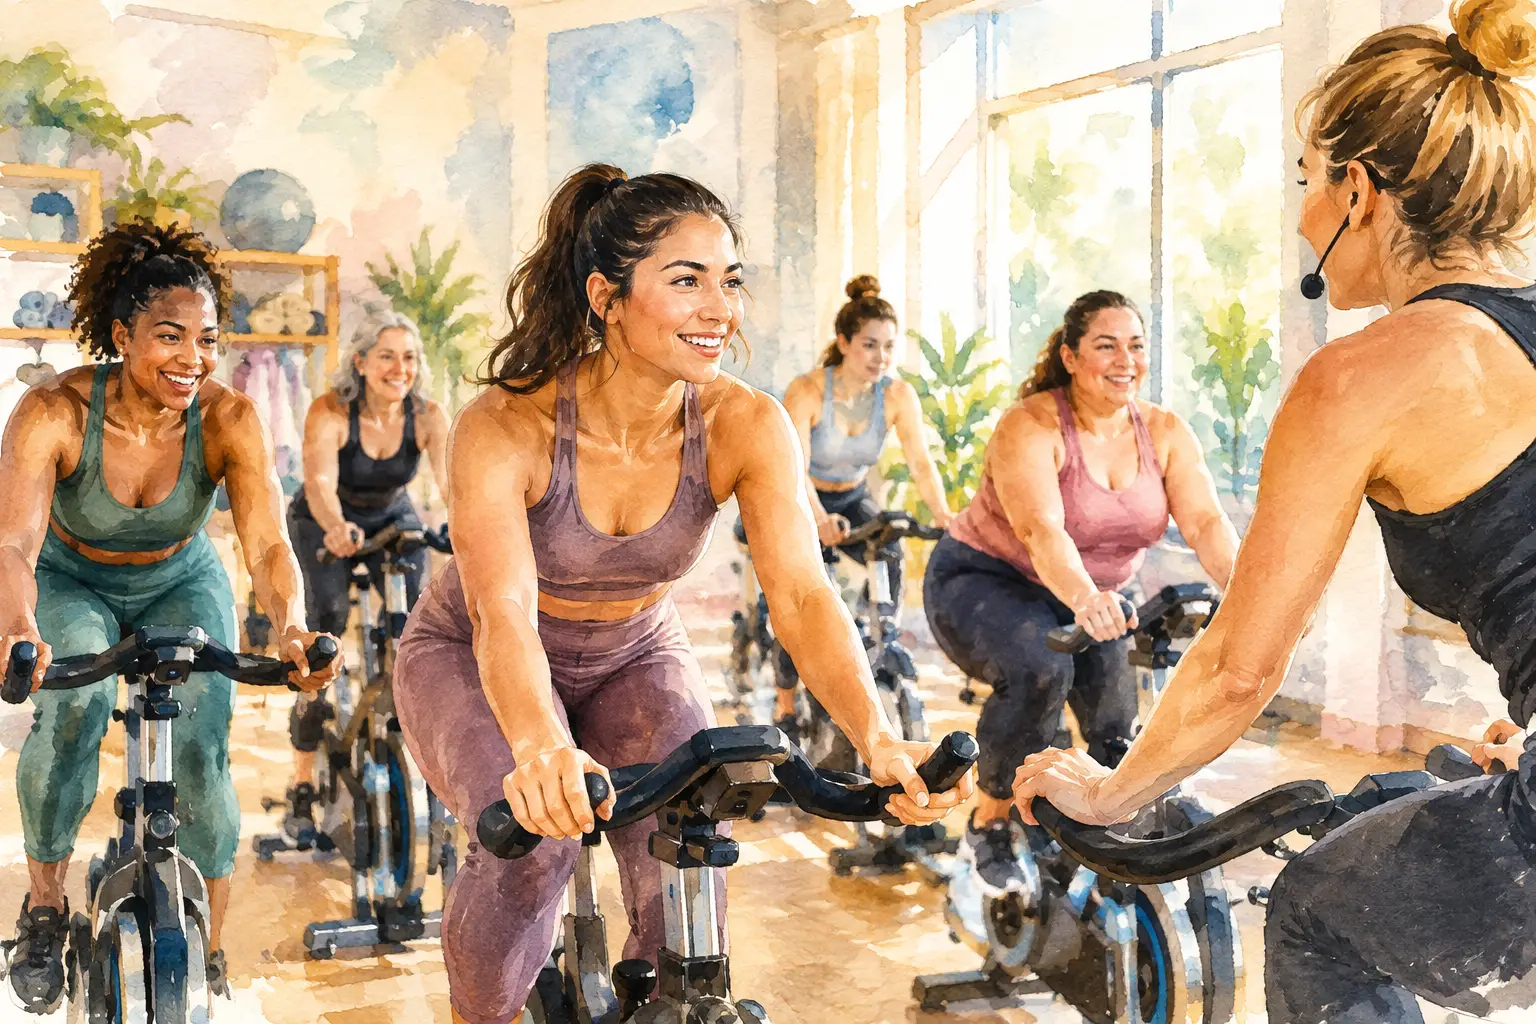
The right resistance can turn an indoor cycling class from a bouncy, uncomfortable pedal into a steady ride that leaves you feeling strong. Learning how to set cycling resistance is not about chasing the biggest number on the bike. It is about finding enough support beneath your feet to move with control, keep your form comfortable, and meet the purpose of the ride.
At Sea Barre Fitness, your instructor is there to coach the room, offer clear cues, and help you feel at home from your first class. Your bike is still your ride, though. Resistance should reflect your body, your energy that day, and the movement you can perform well.
Resistance is the adjustable pressure on the bike’s flywheel. Adding it makes each pedal stroke feel heavier, much like riding into a gradual headwind or up a hill. Reducing it makes the pedals move more freely, which can support a quicker cadence during lighter sections of class.
The goal is not to keep resistance high from start to finish. Indoor cycling classes use changes in resistance and pace to build cardiovascular stamina while strengthening the lower body and core. A lighter flat-road section may ask for smooth, quick legs. A climb may call for more resistance and a slower, grounded pedal stroke. Both have a place in a balanced ride.
What matters most is that the resistance is enough to give your legs something to work against. If the pedals spin so freely that your hips bounce in the saddle or your feet feel disconnected, add a little more. If you have to strain, grip the handlebars, or lose control of your pedal stroke, ease it back.
Before the music starts, take a minute to create a comfortable bike setup. Set the saddle and handlebars according to your instructor’s guidance, then place both feet securely in the pedals. Start with very light resistance and slowly turn the resistance knob to the right until you feel a gentle connection to the flywheel.
This is often called your base resistance or flat road. It should feel light enough to pedal smoothly but substantial enough that your legs are not spinning without control. You should be able to sit tall, relax your shoulders, and keep your hips stable in the saddle.
A helpful check is to pedal at a comfortable pace for 15 to 20 seconds. If you can feel the circle of each pedal stroke without bouncing, you have a solid place to begin. If the bike feels like it is pulling your legs ahead of you, add a small amount of resistance. Tiny changes count. One gradual turn is often all you need.
Every bike may feel slightly different, and every rider brings a different level of experience, energy, and recovery into the room. That is why an instructor’s cue to “add a turn” is an invitation to increase your personal effort, not a requirement to match the person on the bike beside you.
Think in terms of how the work feels. On a scale of one to 10, a base resistance might feel like a three or four: present, steady, and manageable. A moderate hill may feel like a five or six. A more challenging climb may reach a seven or eight for a short interval, while still allowing you to stay in control. You should always be able to reduce resistance when your body asks for it.
Cycling instructors often use simple images to make resistance changes easy to understand. A flat road is light and smooth. A rolling hill requires small additions and releases. A climb calls for more support under the pedals. When the cue changes, make your adjustment gradually rather than cranking the knob in one big motion.
For a seated climb, add enough resistance that you can feel power through each downstroke without leaning heavily into the handlebars. Your chest stays open, your shoulders remain away from your ears, and your core helps you stay steady. If your knees feel as though they are moving too quickly or you cannot control the pace, you may need more resistance. If your legs stall or your posture collapses, take some off.
For a standing section, resistance is especially important. Stand only when there is enough pressure beneath your feet to support your body weight. Without it, the pedals can race away from you and make the movement feel unstable. Add a little resistance before rising, keep a soft bend in your elbows, and let your legs do the work rather than hanging on the handlebars.
Fast-paced intervals need a different kind of attention. The answer is not always less resistance. Start with a light-to-moderate setting that lets you move quickly while keeping your hips quiet and your pedal stroke smooth. If speed makes you bounce, slow down first, then add a touch of resistance if needed. Control is always more valuable than a number on the screen.
Your body gives useful feedback long before a ride becomes overwhelming. Good resistance supports an efficient, comfortable position: a long spine, relaxed jaw, steady hips, and feet that stay connected through the full pedal circle.
If you are bouncing in the saddle, your resistance is likely too light for your current speed. Add a small amount or ease your pace. If you are gripping the handlebars tightly, holding your breath, or rocking side to side, the setting may be too heavy or the pace may be too ambitious. Back off enough to regain a smooth rhythm.
Pay attention to your knees as well. Your pedal stroke should feel guided and aligned, not forced. A very heavy gear can make you push hard against every stroke, while an overly light gear can create uncontrolled speed. The best setting lives between those extremes: challenging enough to feel purposeful, comfortable enough to repeat with good form.
One common mistake is treating resistance like a test of toughness. More is not automatically better. A productive ride includes lighter recovery moments because those moments help you reset your form and prepare for the next effort.
Another is making changes too late. If your instructor says a hill is coming, add resistance in small steps before you feel rushed. This gives your legs time to adapt and helps you stay connected to the class rhythm.
It is also easy to forget that your settings can change from day to day. Maybe you slept well and feel ready for a bigger climb. Maybe you are returning to movement, managing a busy week, or simply need a steadier ride. Both rides count. Consistency grows when you choose settings that make you want to come back.
If you are new to indoor cycling, begin by making one thoughtful adjustment at a time. Get familiar with your flat road. Notice what happens when you add a small turn for a hill. Practice returning to a lighter setting during recovery. Within a few classes, those changes will start to feel natural.
Let your instructor know if you are new, returning after time away, or would like help with your setup. Coaching is part of the experience, and a quick adjustment before class can make the entire ride feel more comfortable. You never need to earn the right to modify. Seated options, lighter resistance, and a slower pace are smart choices when they help you move well.
The most satisfying cycling rides are not the ones where you push through every cue at maximum effort. They are the rides where you feel your legs working, your posture getting stronger, and your confidence building one controlled turn of the knob at a time.
Are barre socks necessary? Learn when grip socks help with stability and hygiene, when they are required, and how to choose a comfortable pair for class.
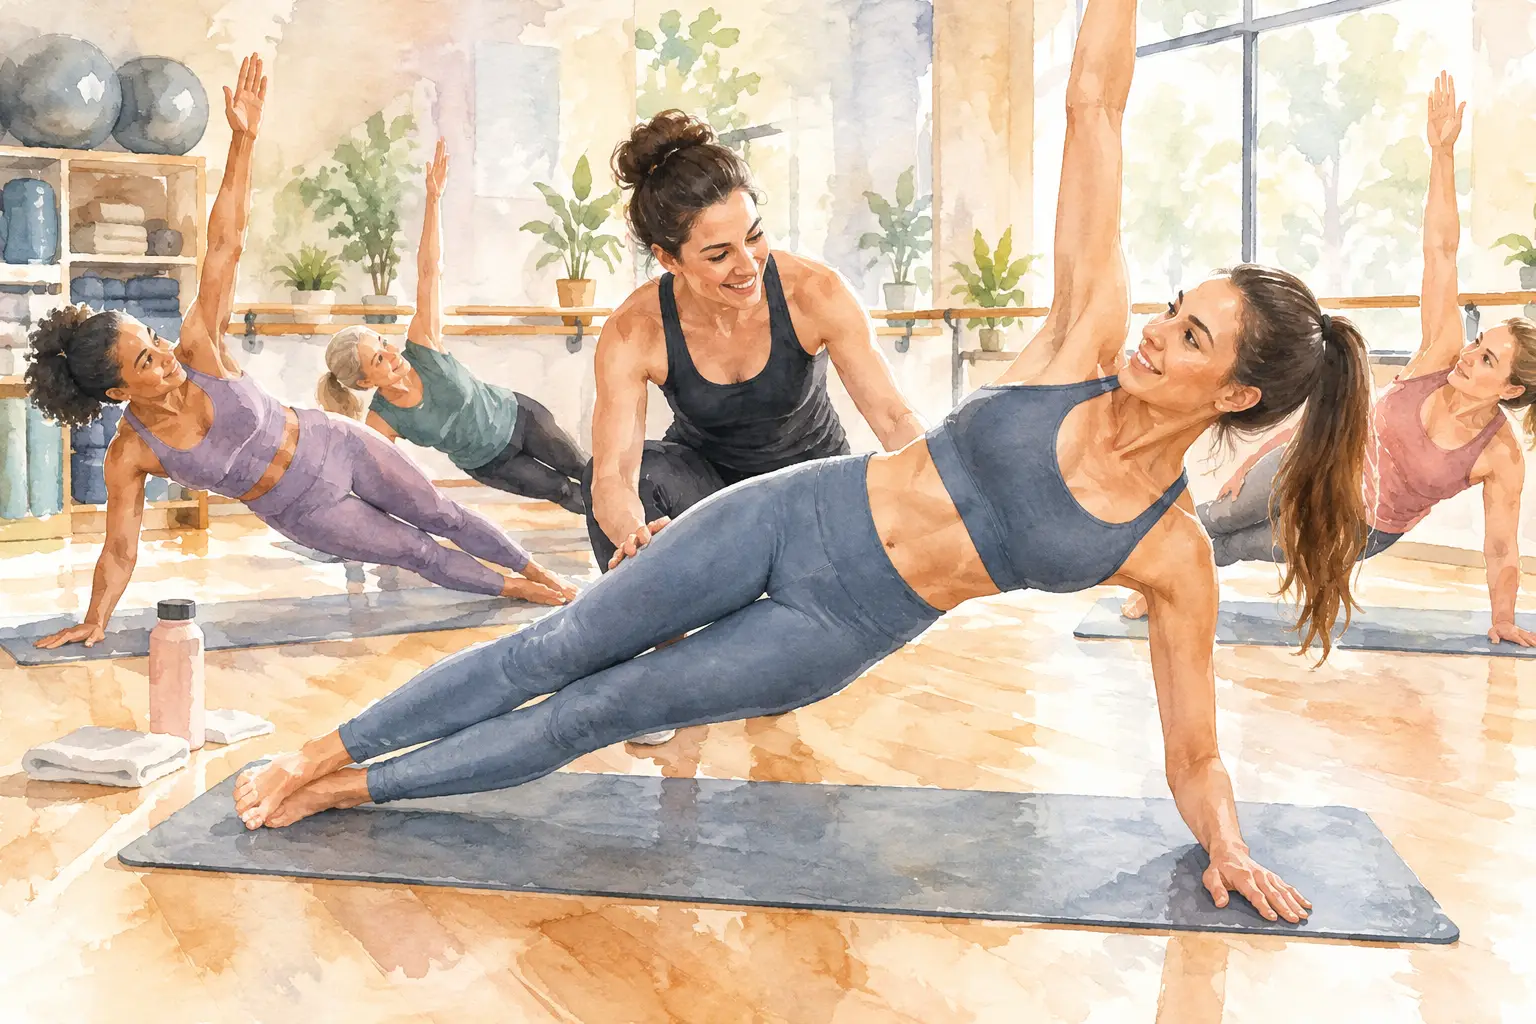
Find the best core stability moves for stronger posture, better balance, and confident low-impact movement, with form tips for every fitness level at home.